Winterising Hives in the Nordic Climate: What Autumn Actually Decides
By Adam M Akkemik — beekeeper in Svinninge · Jordbruksverket registered · Biodlarna Stockholm member
Five months of confinement, decided in September. The winter cluster, damp, insulation, mouse guards and the mesh floor — and an honest answer to what colonies actually die of.
A Swedish winter is one of the longest confinements honeybees face anywhere in Europe. In central Sweden a colony may be shut in for five months, from October until the first cleansing flight in March. Further north it is longer. Everything that decides the outcome happens in August and September, while it is still warm enough to fix.
This article is the whole of winterising except the arithmetic of feeding, which has its own piece: Winter Feed for Bees covers how many kilos, when, and in what strength.
What a winter cluster actually is
Below about 8 °C the bees stop flying and form the vinterklot — the winter cluster. They pack together and vibrate their flight muscles. The outer shell of the cluster sits at roughly 7–10 °C, the inside at 15–20 °C, and the core, where the queen is, at around 25 °C.
The cluster is not a static ball. It moves slowly across the combs, eating as it goes, and it can only move to stores it is touching. That single fact explains a category of spring loss that looks like starvation and is really geometry: a colony can die with capped feed two frames away, because it never had a warm enough day to cross the gap.
It also explains why the bees need empty cells. They sit in the comb, not only on it. A box fed until every cell is full has been given food and lost its quarters.
Bees do not die of cold
They die of starvation and of damp. A colony with proper stores in a dry hive will come through −30 °C. A colony with poor stores or a wet hive will die at −5 °C.
Say that plainly, because almost every instinct a first-year beekeeper has in November — wrap it, seal it, warm it, check on it — is aimed at the wrong problem and makes the real one worse.
Step 1: Final harvest and varroa, before anything else
The order is not negotiable, and the two words to know are slutskattning (the final harvest) and varroabehandling.
The mites you leave in the colony in August damage the very bees that have to live for five months instead of five weeks. Treating in November does not undo that; the winter bees are already made. Formic acid needs +15 to +25 °C, so its window closes as autumn cools, and the oxalic acid step belongs to the broodless period later on. The timing is set out in Varroa Control: Approved Methods in Sweden.
Take the honey off, treat, then feed. In that order.
The frames that leave the hive
When the supers come off you are also shrinking the colony down to the frames the bees actually cover. The rest leaves the hive — and those frames are not waste. Drawn comb is built to be used season after season, and measured in bee time it is the most expensive thing you own: the colony builds it once, you use it for years.
Two decisions belong here, while the comb is still in the hive:
Which comb you keep. Pale comb that has never held brood stores best. Old, dark brood comb fares worst — better melted down than kept.
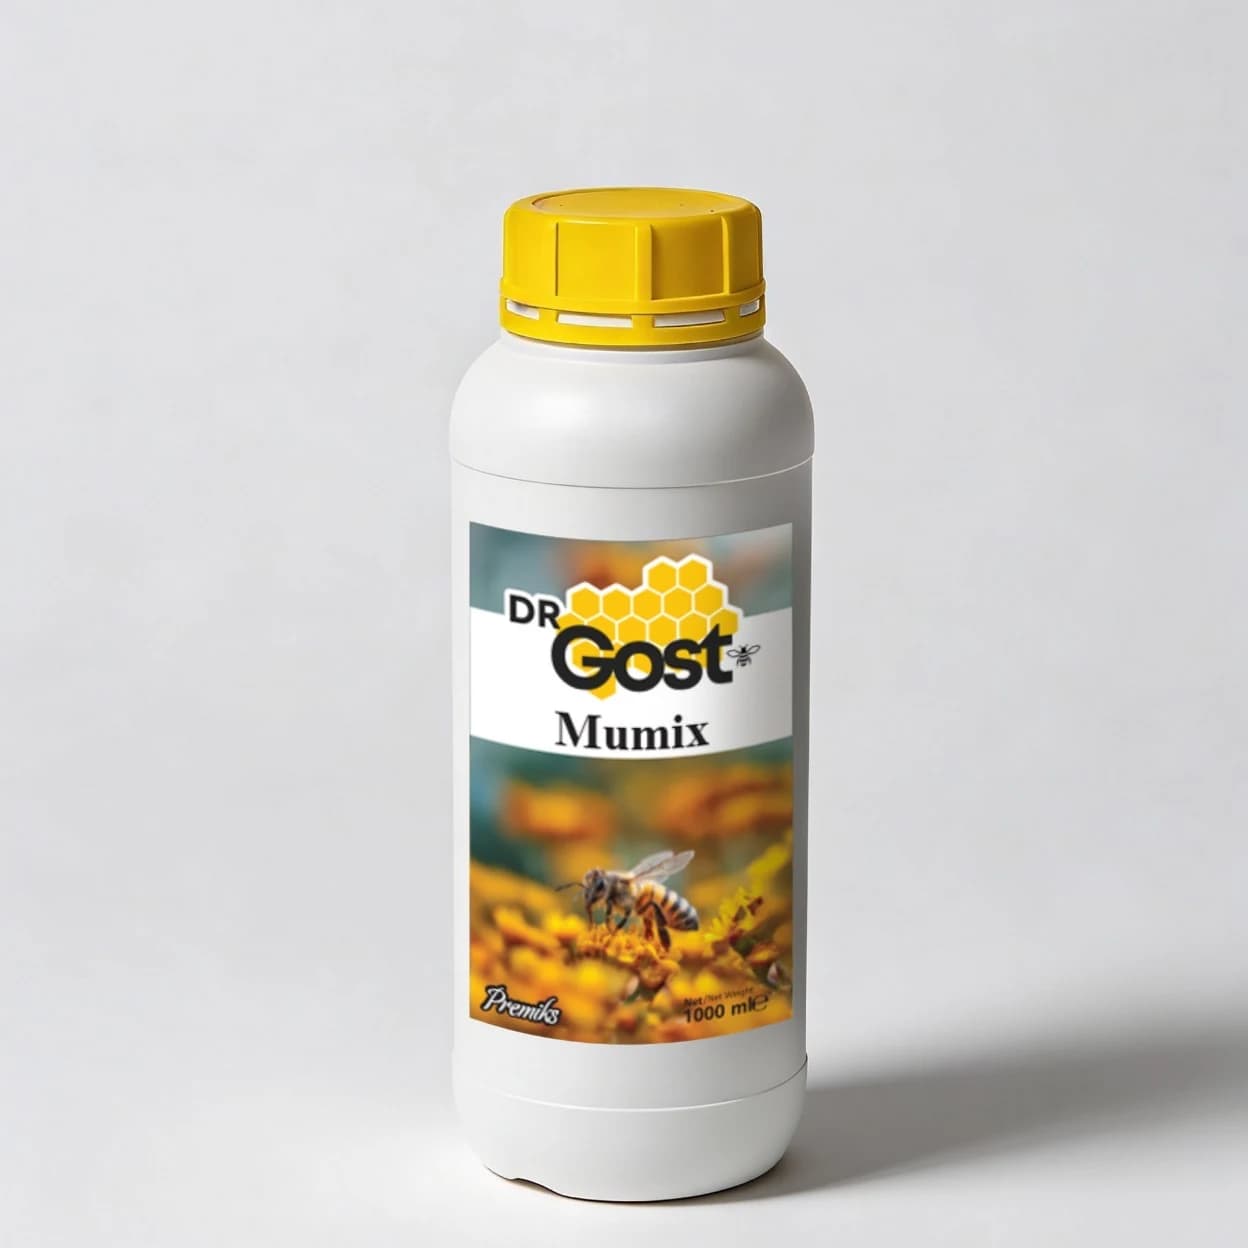
What you do before the frames come out. This step is done while the frames are still on the bees, a few days before you pull them — not afterwards. We spray Mumix on the comb at that point: a blend of plant extracts and aromatic oils sprayed straight onto drawn comb. It has no withdrawal period and leaves no residue in honey or wax, so it is used with the bees still on the frame.
How the comb is then stored — cold, light and airy — is a chapter of its own, and it is settled the moment the frames go into store.
Step 2: The winter feed
Around 20 kg of stores including the honey you leave behind, for a normal colony; 20–25 kg if it is wintered on two boxes. Fed as a thick 60 % sugar solution or as ready-mixed feed, and finished during September so the bees can carry it down, drive the water out and cap it while it is still warm.
That is the summary. The full version, with what to feed, what never to feed, and which feeder to use, is in Winter Feed for Bees.
Step 3: The autumn inspection
One thorough look before the boxes are closed for the year.
The queen. A colony heading into winter behind a queen from the current year will usually do better than one behind a three-year-old. If she is old and the colony was unimpressive all summer, uniting it with another colony is a better decision than hoping. Two mediocre colonies in September are usually one good colony in April, and often two dead ones.
Strength. A colony should cover a good number of frames of bees — the Stockholm-area associations put the usable floor at roughly seven frames of bees with four of brood for a colony you would risk overwintering. Below that, unite. A small cluster spends its whole winter budget on heat.
Disease. Look for crawling bees with deformed wings, for a poor brood pattern, and for the signs of European foulbrood. And check what kind of honey is in the brood chamber: heather and honeydew honey (ljunghonung, bladhonung) raise the risk of dysentery — utsot — over a long confinement, and are better harvested off and replaced with sugar solution.
Space. Decide the number of boxes now. Research cited by Swedish associations gives a small survival advantage to wintering on two boxes rather than one, but a modest colony is better served by pulling a few frames from both boxes and closing the space with dummy boards (vinterluckor) than by rattling around in a volume it cannot heat.
Step 4: Damp is what kills
A clustered colony produces a surprising amount of water vapour — respiration and metabolism, all winter, in a closed wooden box. If that moisture cannot leave, it condenses on the coldest surface it can find, which is the underside of the crown board, and then it drips back down onto the cluster. Wet bees in February do not recover.
There are two schools in Sweden and it is worth knowing both.
The ventilation school, which is the majority: keep the mesh floor (nätbotten) open through the winter, and give the moist air a way out at the top — a small upper entrance, or a gap under the crown board. Damp leaves the hive rather than raining back into it.
The dry-colony school, argued by a number of experienced Swedish beekeepers: a colony winterised correctly, on capped feed and with the right amount of it, produces very little metabolic water in the first place, and heavy ventilation costs it more heat than it saves in moisture.
They are less opposed than they look. Both are really saying the same thing — that condensation is a symptom of a colony working too hard, and the fix begins with the feed and the cluster size rather than with drilling holes. If you are new, take the majority position: mesh floor open, a small vent at the top, and no plastic anywhere in the roof.
An absorbent layer on the crown board — hessian, an insulating board, a sack of wood shavings — is the compromise most Swedish beekeepers land on. It takes up the moisture rather than reflecting it back as droplets.
Step 5: Insulation
The bees make the heat. Your job is to slow its loss, not to add any.
The roof is where it matters. Warm air rises, and an uninsulated lid is the single largest loss. A slab of insulation board in the roof does more than everything else on this list combined.
The sides matter far less in a wooden hive. Wrapping is for genuinely exposed sites, and if you wrap, wrap with something that breathes. A hive sealed in plastic is a condensation experiment.
Do not insulate the floor. The mesh floor stays as it is.
Step 6: Mouse guard, winter position and windbreak
Musskydd. Not optional. A mouse that gets in during October will nest in the warm, chew out comb, and keep the colony disturbed all winter. A metal strip with 7 mm holes lets bees through and stops mice. Fit it by the end of September — the mouse comes in when the nights turn, which is before you think.
Vinterläge. Most Swedish floors have a summer and a winter setting, and the entrance is reduced for the winter one. A smaller entrance is easier to defend against robbing in September and loses less heat in January.
Windbreak. Wind does not chill the cluster directly so much as it makes the colony burn stores faster to hold its temperature. On an exposed site a simple board on the prevailing side is measurable.
Winter: leave them alone
From November to February the correct amount of intervention is almost none. Opening a hive in the cold breaks the heat balance the colony has spent weeks building and is directly harmful.
What you can do from outside: keep the entrance clear of snow and dead bees, check that nothing has knocked the roof loose, and listen. A short knock on the side and a brief rising hum is a colony that is alive. Silence in January means come back on a warmer day before you conclude anything.
February to April: the dangerous part
Most winter losses in Sweden do not happen in the deep cold. They happen at the end.
The queen starts laying again in January or February. From then on the colony is heating brood as well as itself, and consumption climbs steeply — while the first real forage, willow (sälg), is still weeks away. April is the starvation month here, not March, and certainly not December.
So: heft the hives from the back in late February. If one feels light, put a candy block or fondant straight onto the top bars, above the cluster, where the bees can reach it without breaking cluster. It costs very little and it is the cheapest insurance in beekeeping.
The first full inspection waits for a settled day above 12–14 °C, which in the Stockholm region usually means April rather than March. Opening earlier chills brood, and chilled brood is a self-inflicted loss on top of a survived winter.
Products mentioned in this article
You might also need
This is written by a working apiary, not an agency
Buzzin’ Bees is in Svinninge. We sell the honey our own hives make, and the Dr. Gost supplements we bring into Sweden.